RealTimeQuery online help
|
Assistant > Website implementation
This assistant helps you configuring the Website implementation. You can access this assistant at any time from the program's Menu -> Help -> Assistants -> Website implementation . Screens of this assistant are described step by step below: Step 1 : Website implementation assistant This screen starts the 'Website implementation' assistant. 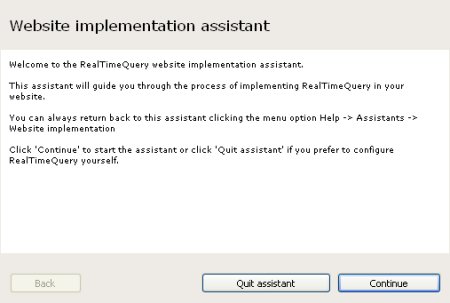
Step 2 : FTP configuration RealTimeQuery acting as a server automatically uploads a Javascript functions file to your webserver when you change your state to offline or online. This way your visitors can see when you are on-line or off-line. RealTimeQuery needs some data in order to connect with your FTP server. Enter the address of your FTP server, this can be something like ftp.yourdomain.com or www.yourdomain.com or just an IP address. 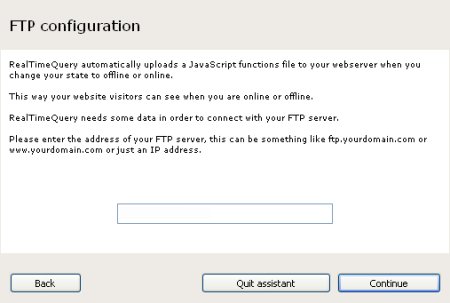
Step 3 : FTP configuration Enter the port used by your FTP server, usually port 21. 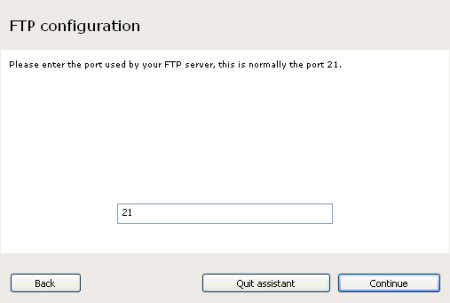
Step 4 : FTP configuration Enter your FTP username. 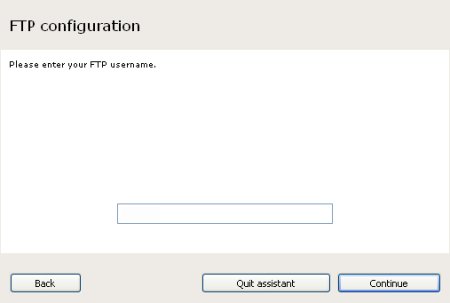
Step 5 : FTP configuration Enter your FTP password. 
Step 6 : FTP configuration Enter your ftp folder. 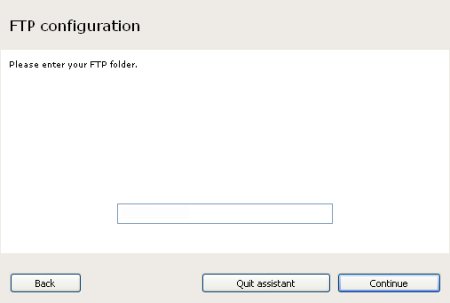
Step 7 : FTP configuration test 1 This screen tests the FTP connection to your webserver. 
Step 8 : FTP configuration test 2 This screen shows the ftp configuration test results. 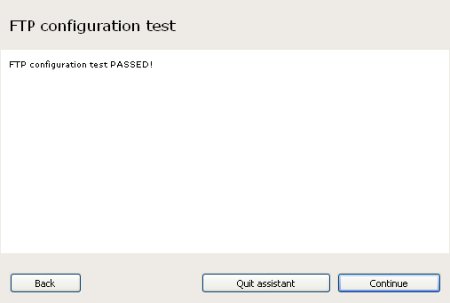
Step 9 : Website interface type Select the kind of interface you wish to include in your website. 
Step 10 : Website interface location Enter a location name, you will see this name as the name of the location from where you receive calls. This can be something like "contact page", "distributors page", "Product page", "Technical support", etc... 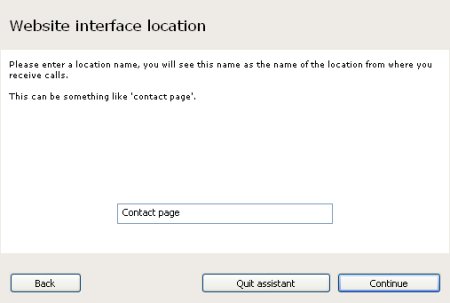
Step 11 : Website interface language Select the language you wish to use in your RealTimeQuery website interface. 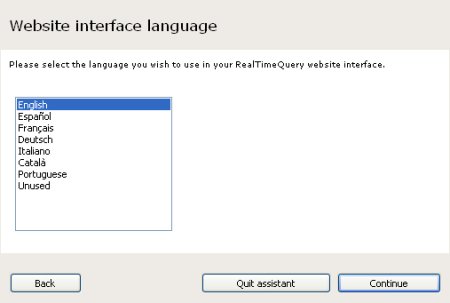
Step 12 : Website interface skin Select the skin you wish to use in your RealTimeQuery website interface. Custom skin Do not hesitate to contact us if you wish a customized skin adapted to your company brand. We can build a customized skin that match your website colors and fonts, also it is possible to include your company logo. You can get your own customized skin for free depending on the amount of licenses you had purchased. Take a look at http://www.realtimequery.com for prices and conditions. 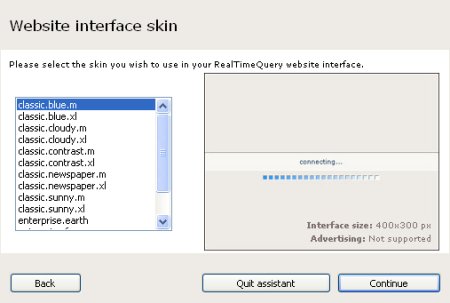
Step 13 : Adding code to the HEAD section of your website You need to add some code in the HEAD section of your website in each HTML page where you want to use any of the RealTimeQuery features, as the visitors tracker, the embedded website interface or the popup interface. Copy the code generated by this screen in the HEAD section of your HTML pages. 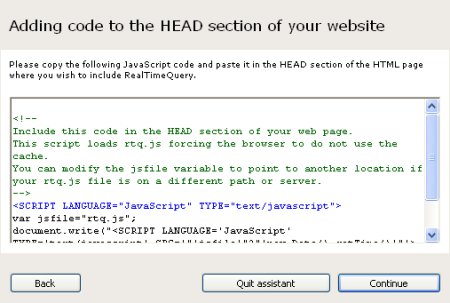
Step 14 : Adding code to the BODY section of your website 1 You need to add some code in the BODY section of your website in each HTML page where you want to use the embedded website interface. Copy the code generated by this screen in the BODY section of your HTML pages. 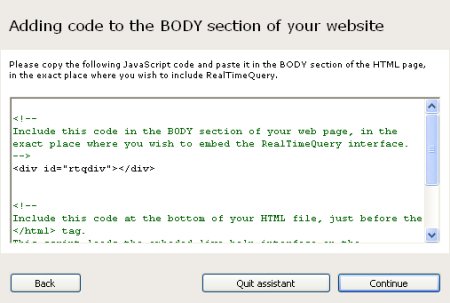
Step 15 : Adding code to the BODY section of your website 2 You need to add some code in the BODY section of your website in each HTML page where you want to use the visitors tracker feature. Copy the code generated by this screen in the BODY section of your HTML pages. 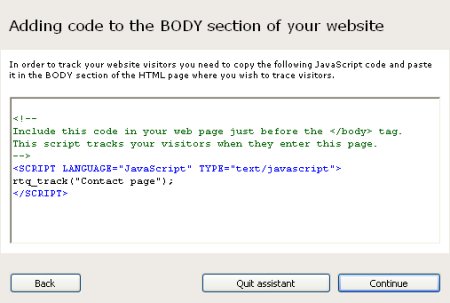
Step 16 : Finish This screen ends the 'Website implementation' assistant. 
|